Artificial Turf Installation Guide
If ‘keeping your garden green and well-maintained without effort’ is your goal, artificial turf may be the answer. Many schools, businesses, homes, and sports facilities now choose artificial grass over natural grass because it is valuable.
What matters is that you will not worry about taking daily care of your lawn. You will not need to concern yourself with the roof after you install it, which optimizes your time and money savings. Traditionally, this type of gardening is ideal for areas where water is scarce or difficult to access. No matter how bad the weather is, your artificial grass will not fade and will remain consistently beautiful.
Also, today’s artificial turf suppliers make the turf that feels like real grass! It also stands up well to everyday and heavy use. If you consider changing your yard or outdoor area, artificial turf is a decision you won’t regret.
Tools Needed for Nerf Preparation
Get all the needed tools and materials together before you begin installing.
- Shovel and Pickaxe to dig and smooth the edges
- Comb over (the area), clearing any debris to level it off.
- Utility Knife on hand for cutting the turf
- Tape measure
- Hammer or Mallet
- Wheelbarrow
- Turf or Sod Cutter
- Plate Compactor or Hand Tamper
- Landscape Fabric (also called weed barrier)
- Gravel or Crushed Rock (at the base of the driveway)
- Levelling tool made of sand
- Brooms and Power Brushes
- Silica Sand or Rubber Granules
- Turf Adhesive or Fitting Tape (when joining several strips)
- Turf Nails
- Synthetic Grass
How To Prepare the Ground for Artificial Turf?
Setting up the subbase layer is very important before starting to put down the artificial grass. When you properly prepare the base, you ensure drainage, keep weeds away, and make your turf lie flat and appear welcoming.
- Eliminate all grass, plants, rocks, and trash from the site you want to use for the fencing.
- Loosen and remove the topsoil to dig down 2 to 4 inches from the ground level. If water is not draining away, you could try going deeper.
- Utilize landscape fabric to act as a barrier against weeds trying to creep in while your new turf is growing.
- Place a layer of crushed gravel or rock strategically at the base of the area. Make sure the surface is flat by compressing it with a plate compactor.
- Apply a subtle layer of sand on the base to make the finish level and smooth. Press your mixture down firmly again to hold it together better.
Artificial Turf Installation Steps
Remove Grass
The first part of installing artificial turf is to take out any improved grass or other vegetation. To clear the spot, use a sod cutter, a shovel or a turf cutter. Take away an area of soil that is at least 2 to 4 inches deep, to give your base material some room. Securely pulling out pests keeps your turf from having further issues with grass or weeds.
Lay Turf
Lay the artificial turf evenly on the land. Give the turf some time, so it becomes comfortable with the environment. This will reduce the number of wrinkles and make smoothing the dough ‘easy’.
Arrange the turf in such a way that every blade of grass faces the same way. If you are using more than just one roll, ensure the seams go together correctly.
Cut to Fit
Sharpen and use your utility knife to see the turf fit and trim the edges as required. Seek coverage for refrigerator seals, just like food items.
Arrange the turf appropriately around each corner, by flower beds, walkways, and other landscape areas. Taking care of the finer points is necessary for a great result.
Secure the Perimeter
If you have several turf rolls, use seaming tape with adhesive. You can also use outdoor turf joining materials.
Stretch the turf to get rid of wrinkles or folds, and then attach them starting near one edge and proceeding from there.
Spread Infill
The process of artificial grass installation mainly depends on good infill. It supports the turf leaves and makes the turf comfortable to walk on! Moreover, the possibility of water draining rises substantially. Most people apply silica sand or rubber granules, and sometimes, a blend of the two.
Apply the infill by spreading it out nicely over the surface with a drop spreader. The amount of infill required depends on the kind of turf you’ve laid and how you plan to use it (for a home, pets, or sports).
Brush Infill
Make sure to use a hard brush or stiff-bristled broom to push the infill turf down. Drag your brush at the right angle to allow the blades to flow and appear natural.
Brushing spreads the sand evenly, which is necessary for the gunpowder gun to function well and to last a long time. This part of the process helps your lawn look upright and beautiful, much like the appearance after a fresh grass cut.
Bare spots can result from pet damage, foot traffic, grubs, or fungal infections.
Conclusion
Installing
synthetic turf is an advantageous project since it delivers benefits for many years. When you know how it works, you are able to decide which hairstyle will suit you and achieve good results.
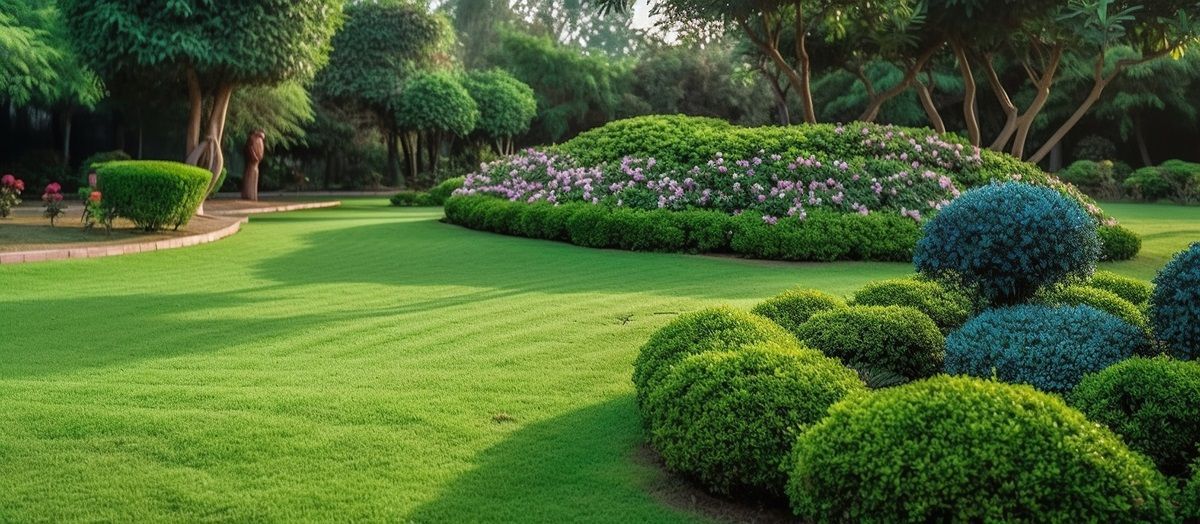
Properly laying artificial turf will make it look green and beautiful, even when you make little effort to keep it clean. Synthetic grass requires less water, saves time by eliminating the need for mowing, and keeps your garden clean. Perfect for everyone to play in.
Therefore, assemble your tools, refer to this artificial turf guide, and start admiring a beautiful lawn, all year long!
For expert artificial turf installation, Landtech Scenery is here to help you transform your outdoor space with ease and precision.